Old School
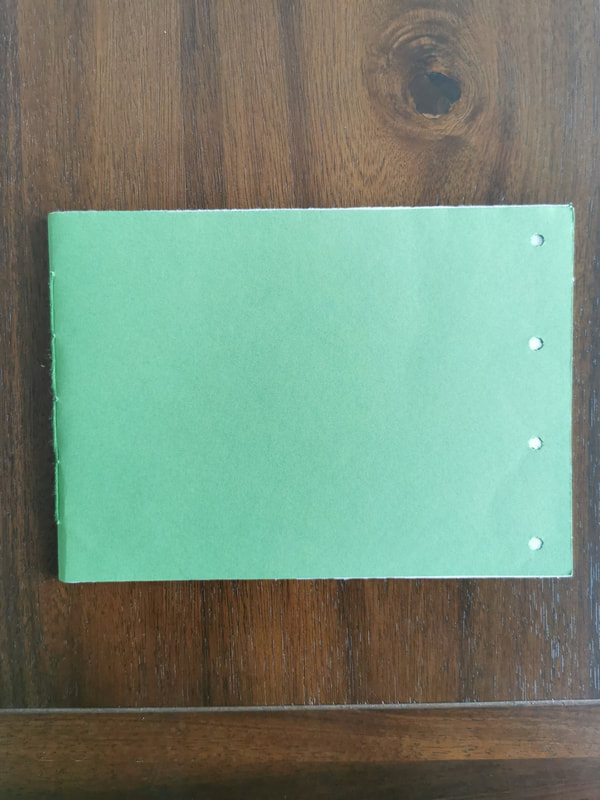
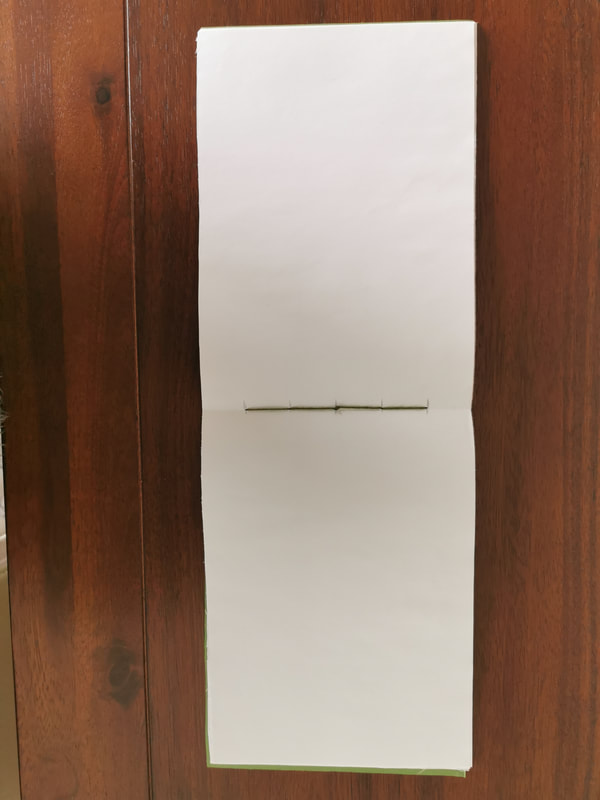
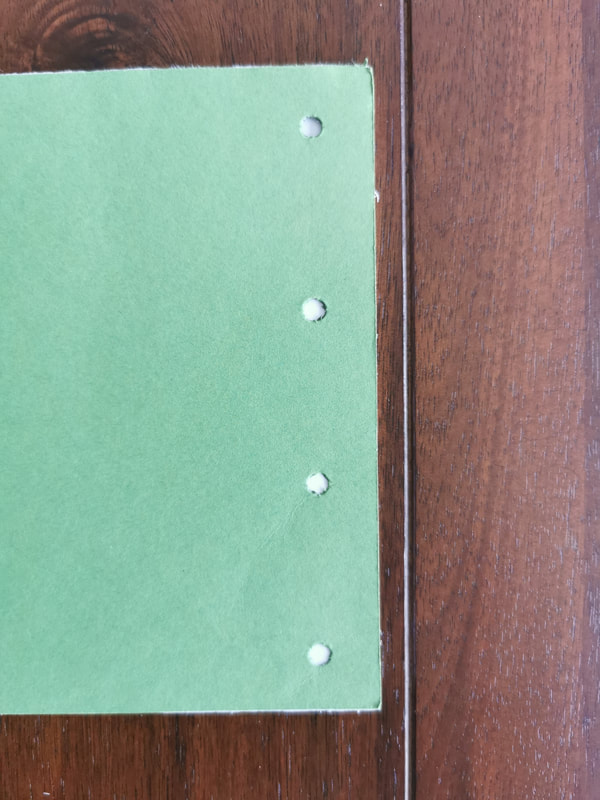
Task 1 - Create a landscape format, saddle-stitched (stapled) sketchbook. It should contain 20 pages of white paper and be no smaller than A5. The cover should be made of a thin, coloured card. The front should feature a decorative motif of four, 5mm diameter holes cut through to reveal the white page below. The holes should run vertically along the right-hand edge: inset by 12-14mm (hole centres) with a spacing between each hole of 40.5mm (centre to centre). Any page creep should be carefully trimmed.
|
|
|
I didn't have a holepunch available while making this book, so I carved the holes out with a pencil, then cleaned up the edges with a crat knife, which meant the holes still had some jagged edges.
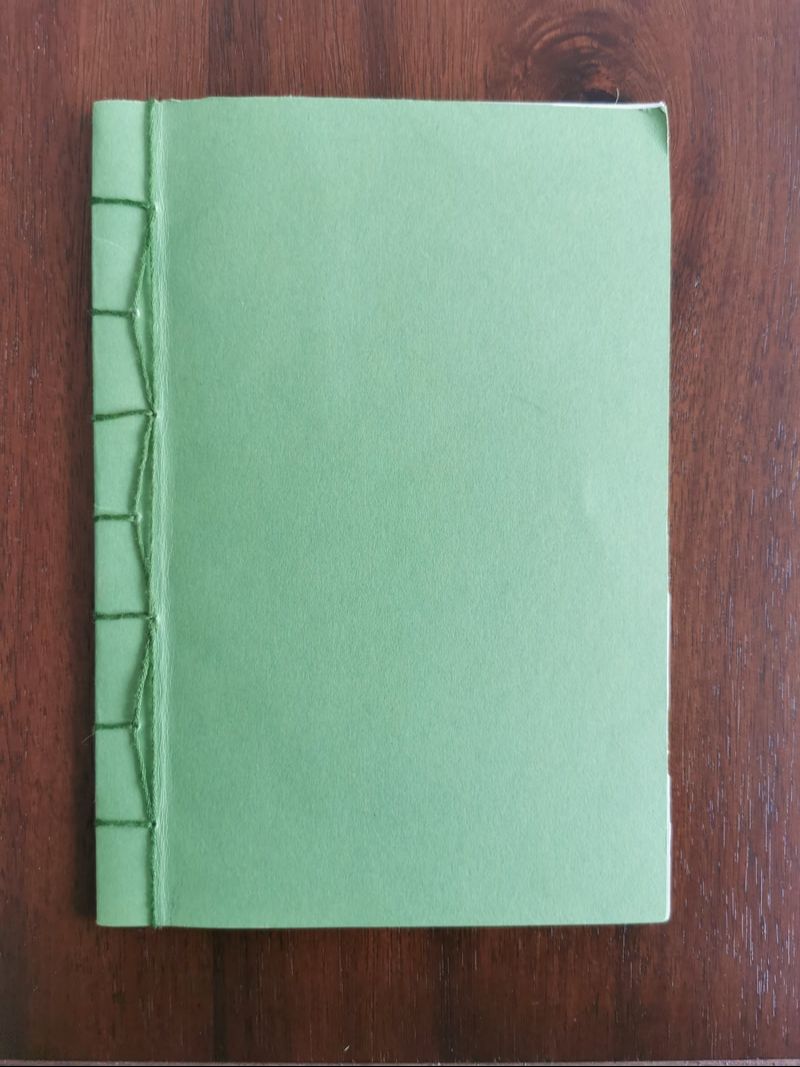
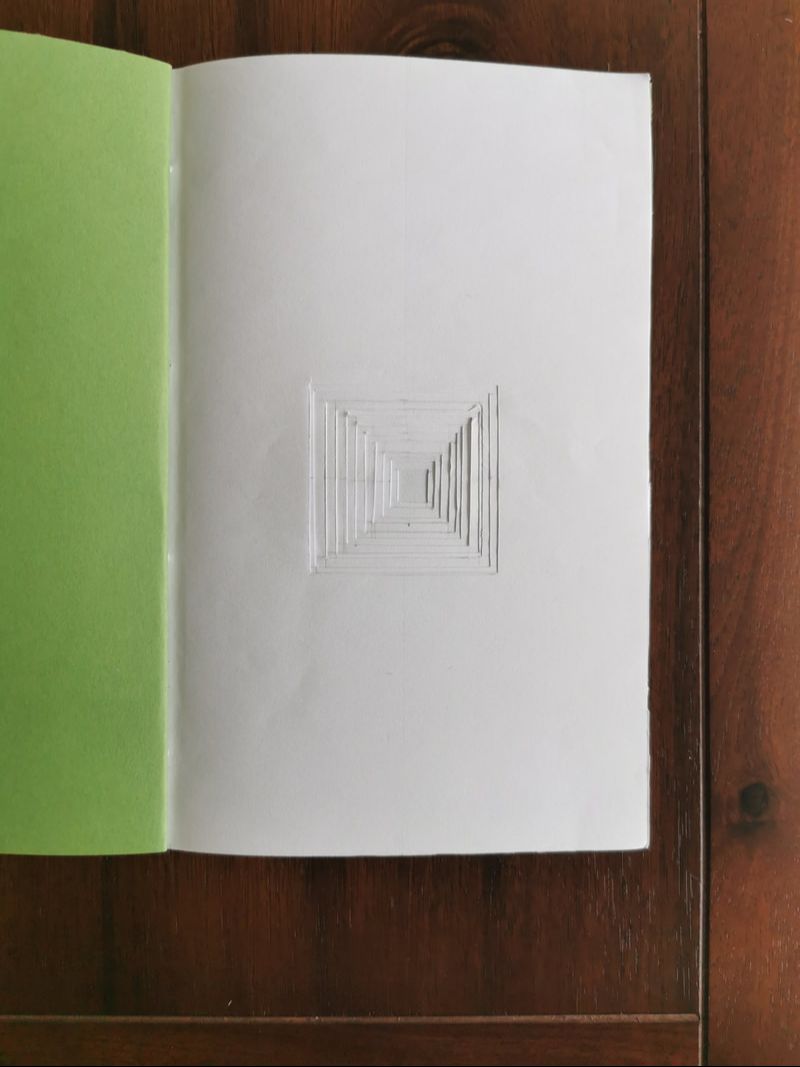
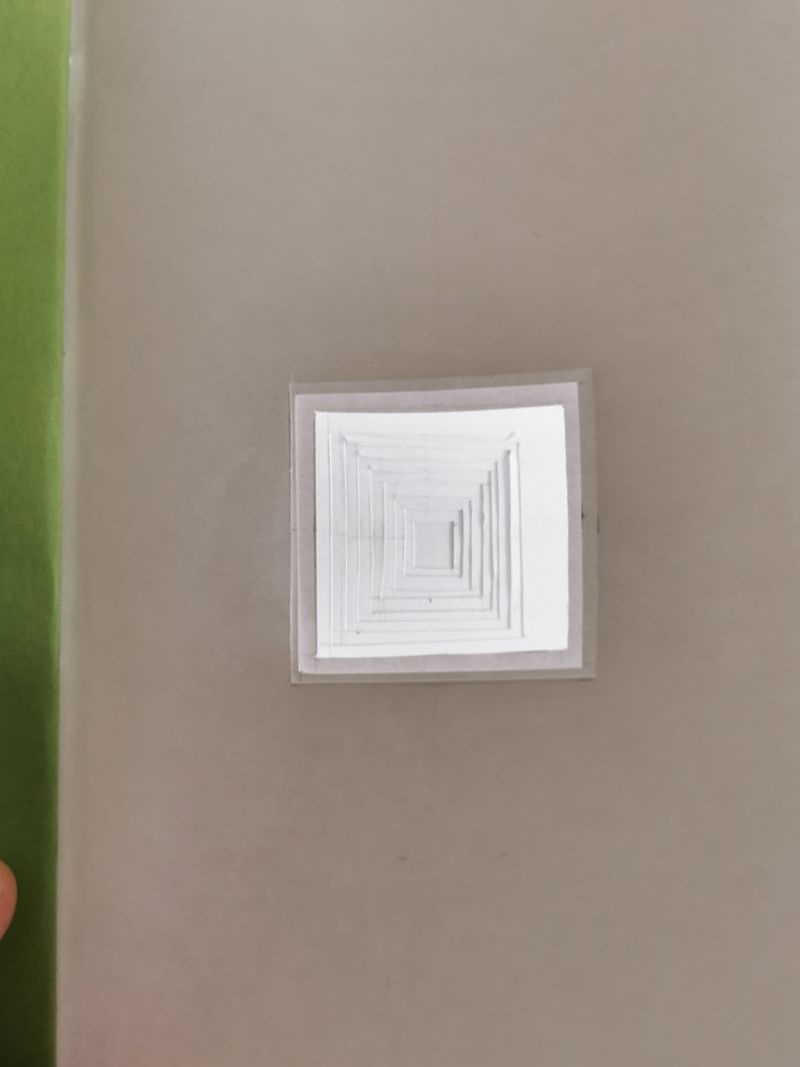
Task 2 - Create an A5, portrait format, stab-stitched book. It should contain 12 sheets of A5 paper and 2 sheets of thin, A5 card to act as a cover or one sheet that wraps around. The holes for stitching should be placed at 15mm and 10mm from the left-hand edge. The interior sheets should have a cut, decorative motif achieved as follows: Sheet one contains a 50mm square hole centered on the visible page – please ignore the area lost to the binding. All subsequent sheets (apart from the last) should also feature a square hole that uses the same centre as above but diminishes in increments of 4mm per sheet (i.e. 46mm sheet two, 42mm sheet three etc., etc.) Any page creep should be carefully trimmed.
|
|
|
Cutting the holes out to be perfectly in order witch each other was very difficult for me, because I didn't realise that you could use tracing paper and some pins to create a perfect template.
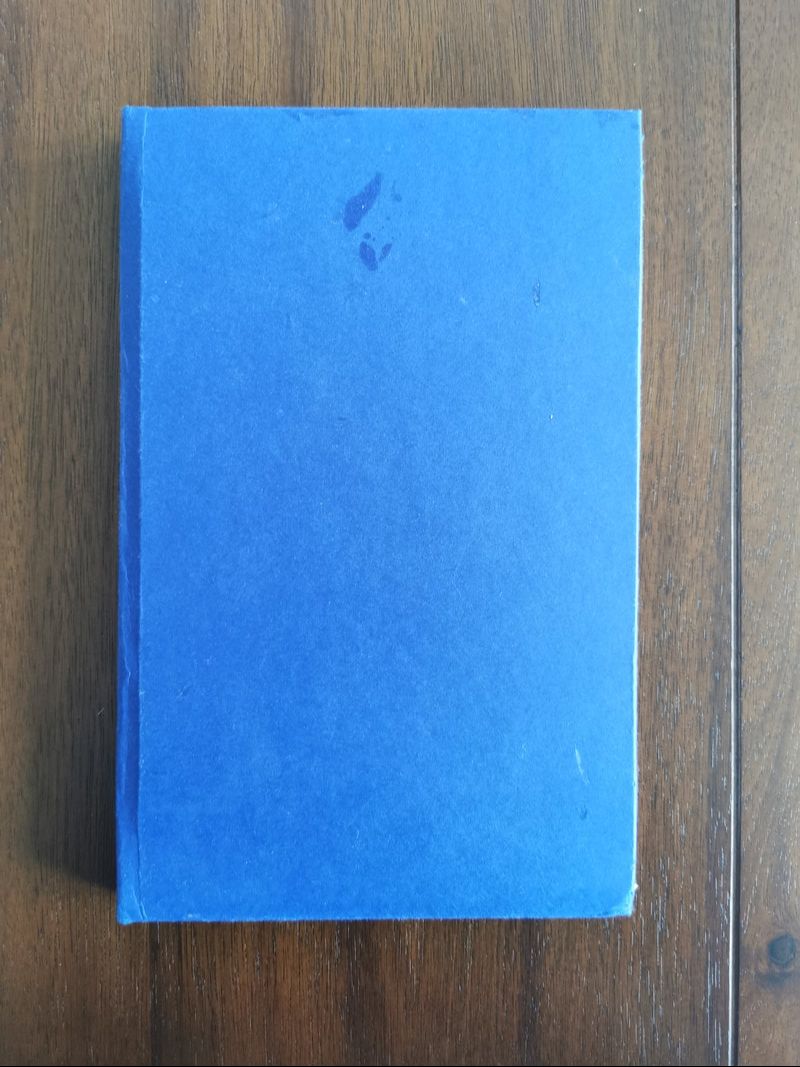
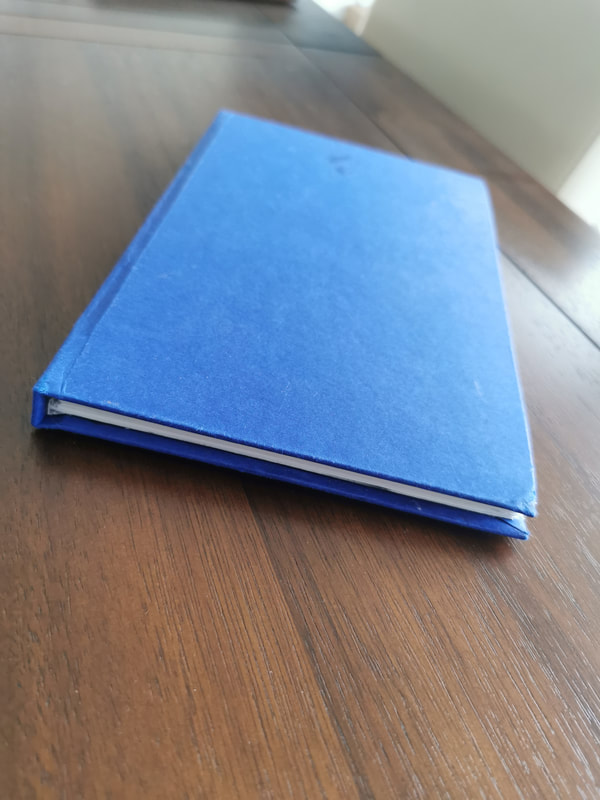
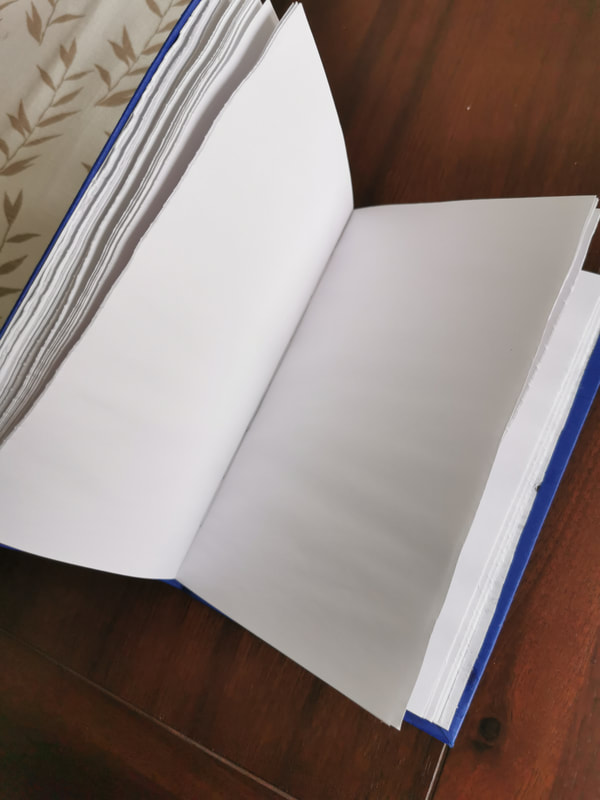
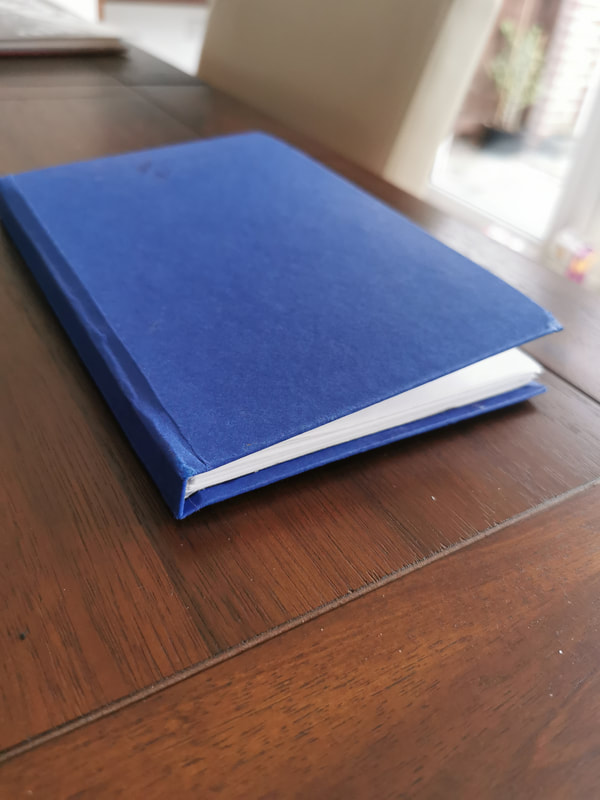
Task 3 - Create a perfect bound book. The cover should be made from a thin card. The spine should be at least 5mm wide. Any page creep should be carefully trimmed.
|
|
|
|
Notes - After handing in this piece of work, I realised that I had created the wrong type of bound book. Here I had created a hard bound book, when this was not what was expected of me because I had read the task instructions incorrectly.
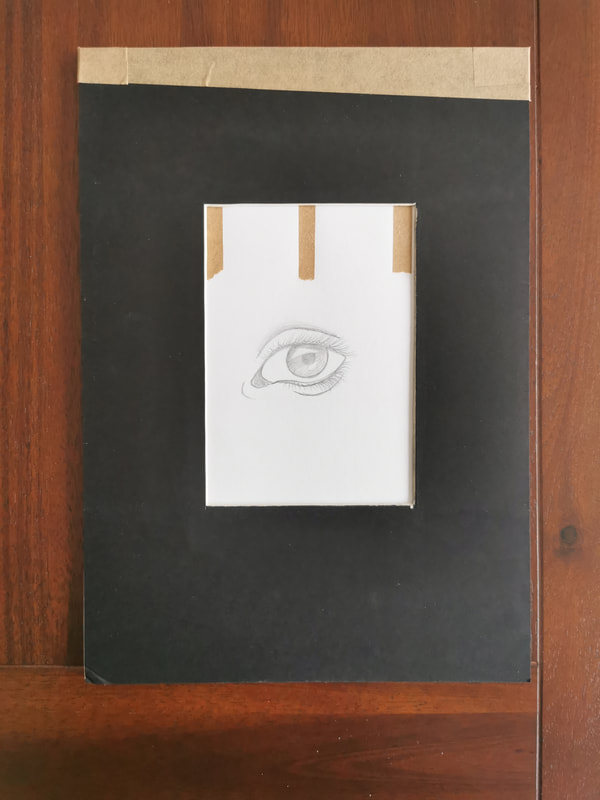
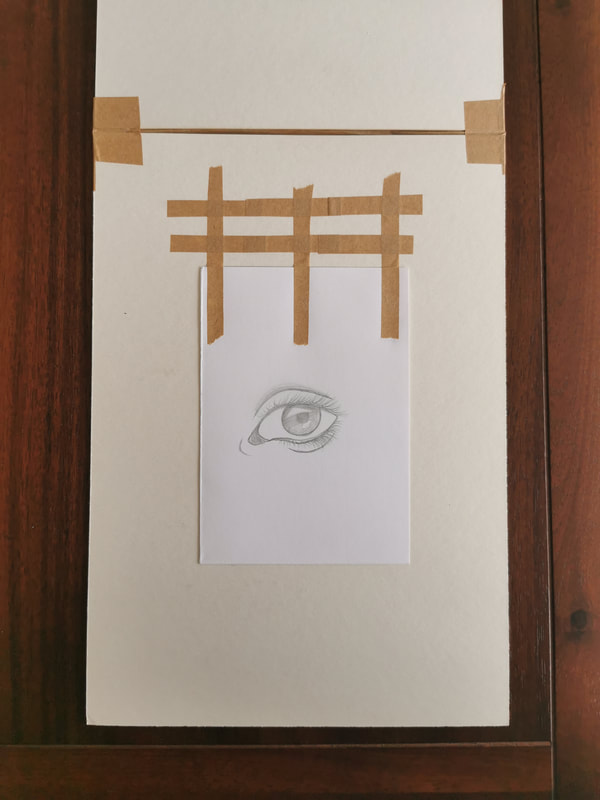
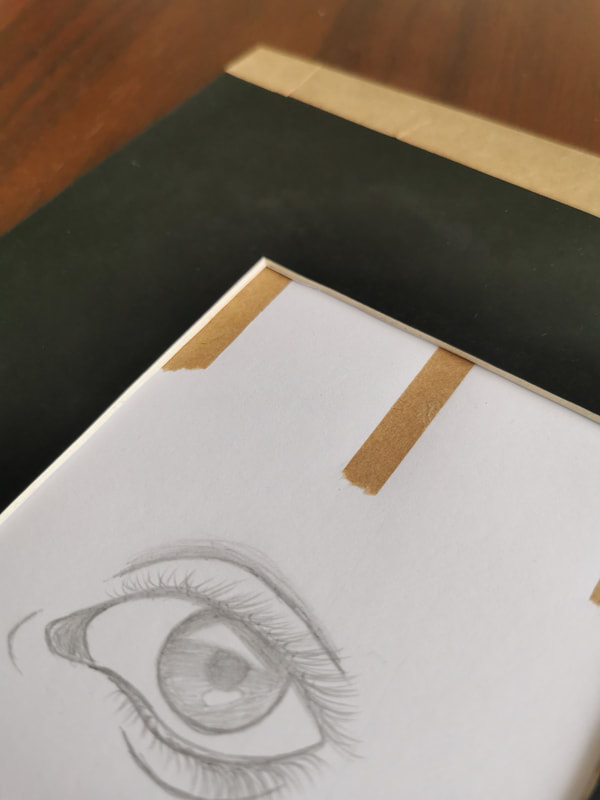
Task 4 - Window mount a postcard behind an A4 sheet of mounting card. The mount should be hinged to a backboard. The postcard should be attached to the backboard. The hole should be cut with a 45-degree bevel.
|
|
|
I completed this messily, and was confused with how to attach the two pieces of card together without having the gum strip showing, so I couldn't complete this up to standard.
Task 5 - Surface mount six postcards (all in the same orientation) on a mid-grey, A2 sheet of thin card
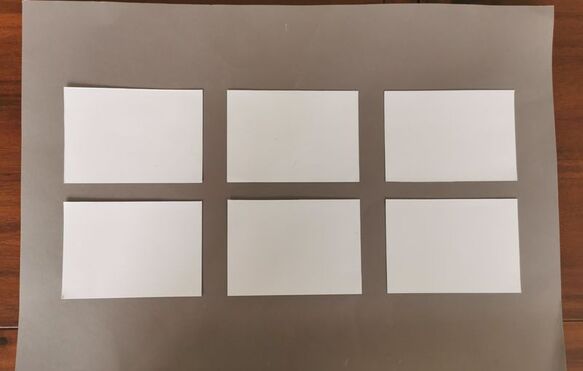
I feel that I completed this very well and to good standard.
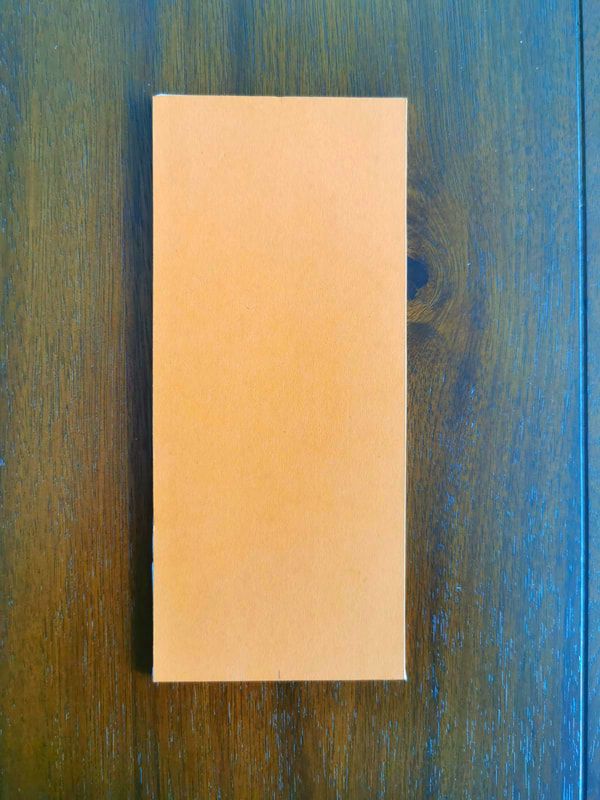
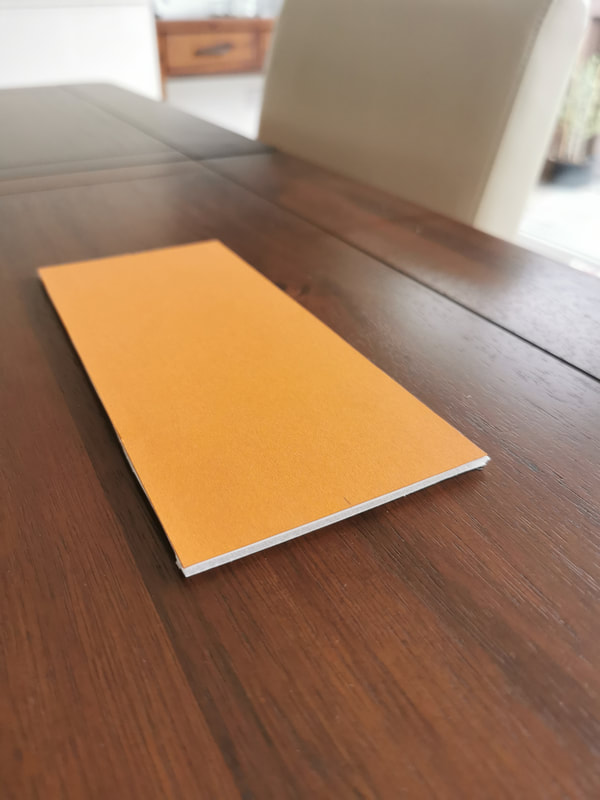
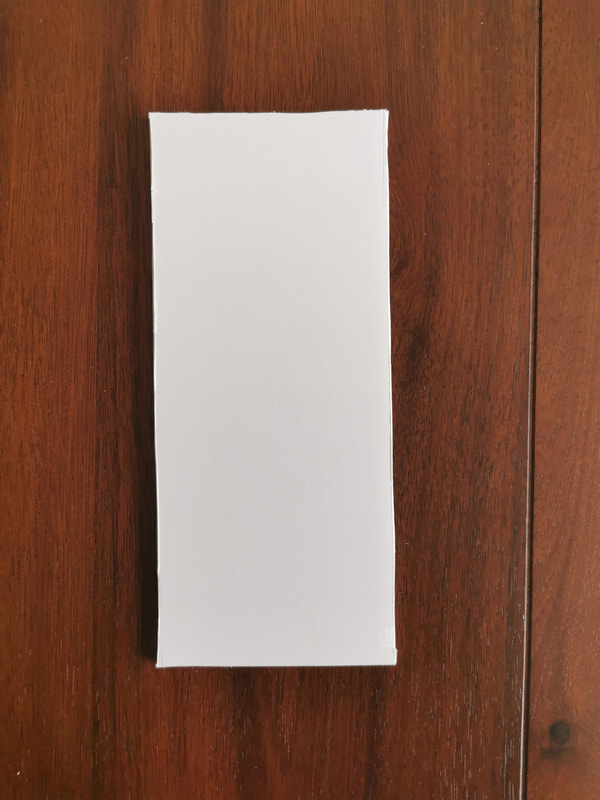
Task 6 - Flat mount a piece of coloured card 210mm X 90mm onto a piece of foamcore.
|
|
|
I feel I completed this to good standard.
Task 7 - Using a pen draw the outline of a perfect, 50 mm square in the middle of a sheet of A4 layout paper. This should be presented in pristine condition, the only marks on the paper being the ink outline of the square. Keep this in pristine condition until the final feedback session.
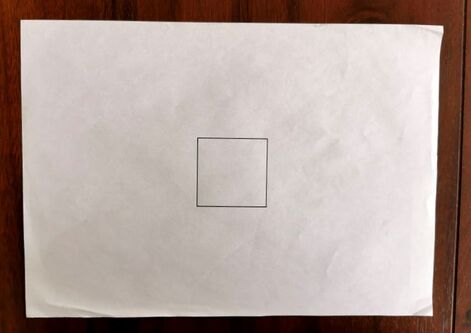
I drew the square to the correct dimensions and placement on the paper but the paper was bent and scuffed slightly as I had no where to keep it safe so it wouldn't be crumpled or damaged.
Task 8 - Emboss a circle, square and equilateral triangle onto a sheet of white, A4 cartridge paper. The shapes should be 40mm high, share a baseline and be centered (landscape) on the sheet.
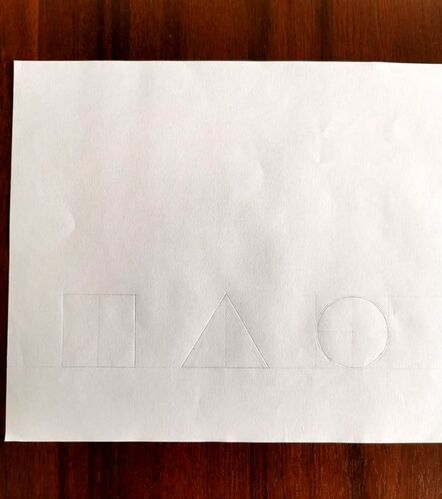
I embossed the shapes to the correct dimensions, but I misread this and positioned them in the wrong placements.
Task 9 - Take an A4 piece of thin card. Using a compass draw a circle with a 40 mm radius, centered on the sheet. Using a scalpel or craft knife cut out a perfect circle. Both pieces should be retained and presented. The curve should be continuous and smooth (no corners)!
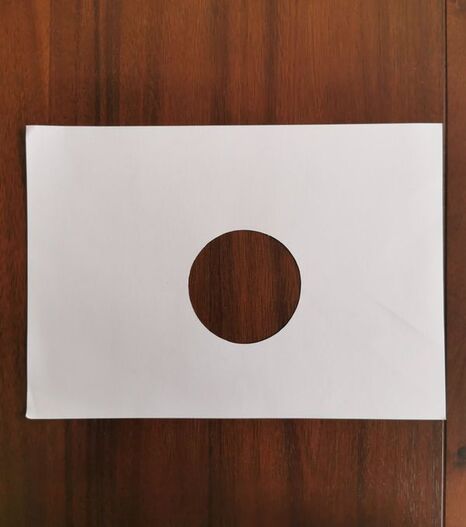
I cut out the circle very well, but the placement of the circle was slightly off.
Task 10 - Cut the word SHOP out of thin, grey card and mount it on an A3 sheet of white cartridge paper. The word should be set in uppercase letters 90mm high, be carefully spaced (kerned) and sit on a common baseline. You should use the font Rockwell Extra Bold. As with all these tasks, no glue or construction marks should be visible.
Task 11 - Create your own version of a cut out illustration using a craft knife. It should be approximately A5 in size.
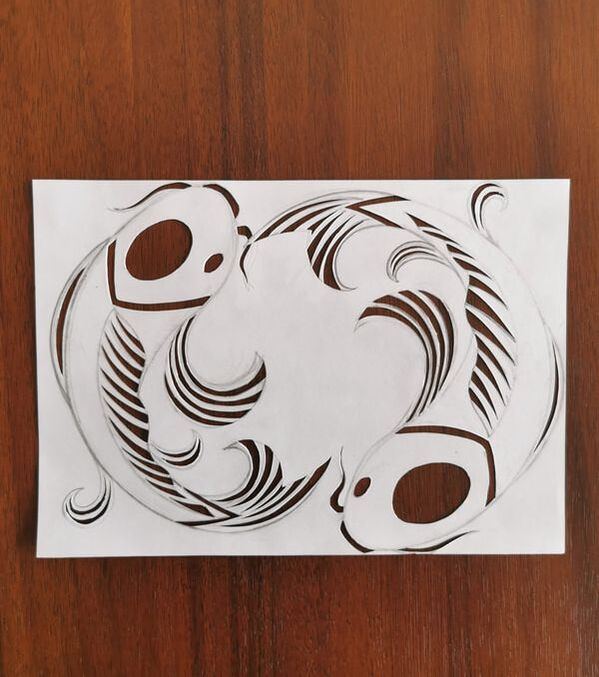
|
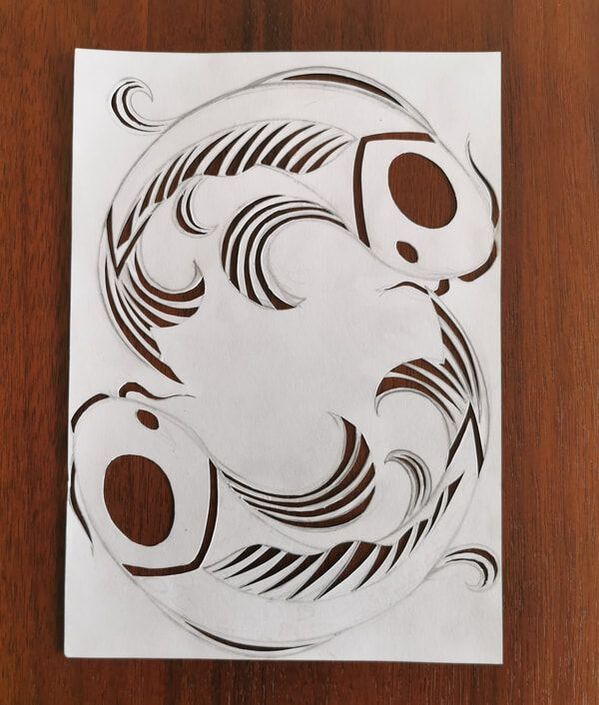
|
I feel I could have come up with a better cut out than this that utilised the negative space more effectively.
Task 12 - Using thick paper/thin card, create a perfect, white cube. Each side of the cube should be 80mm long. Create a perfect, white cylinder 110mm high with a diameter of 60 mm. Create a perfect, white pyramid 70mm high with a width of 70mm.
Task 13 - Using black, thick paper/thin card create a three-dimensional capital letter ‘R’. You should use Rockwell Extra Bold and the letter should be 140mm high and 40mm deep
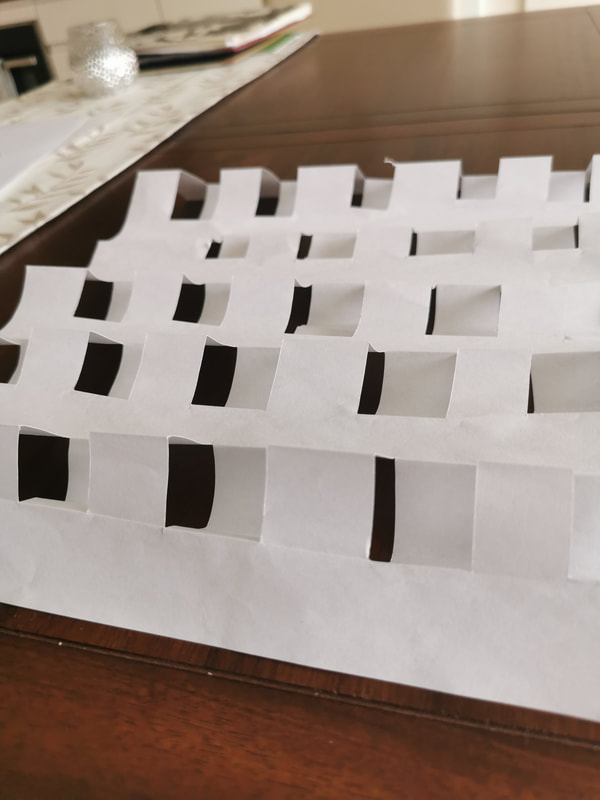
Task 14 - Look at these examples of surface pattern created using cutting and folding techniques. Experiment with your own designs and once finished, light them dramatically and take good quality photographs of them.
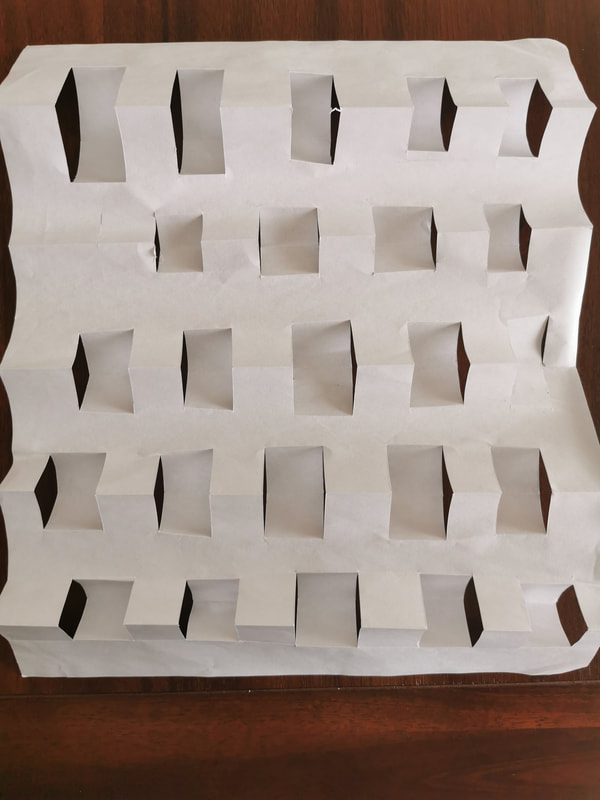
|
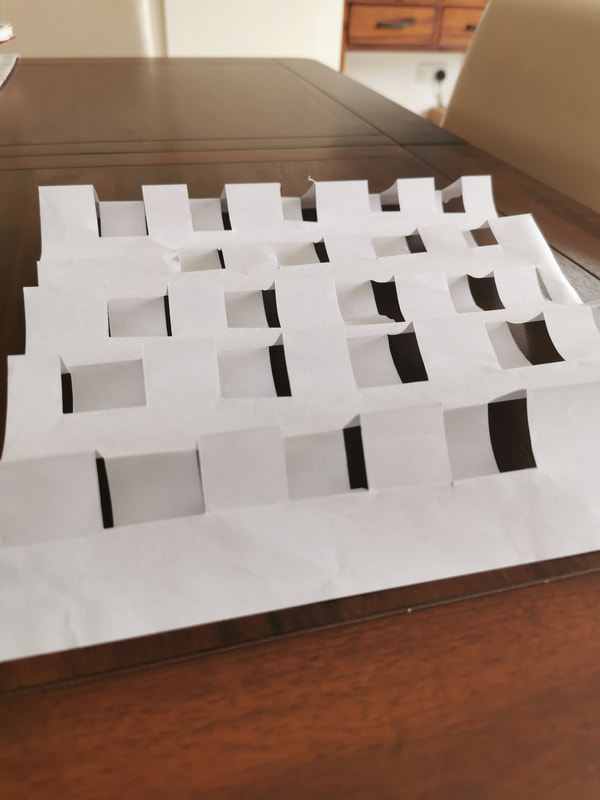
|
|
I could have made the paper cut outs neater, or more dynamic to produce better shadows and contrast.
Task 15 - Illustrate a well-known saying (e.g. ‘a stitch in time saves nine’) as a pop-up. It should be A4 when closed and A3 when open flat. It should be created primarily using coloured paper, any over-drawing/painting should be kept to a minimum. The cover can be left plain.
Master Forger
Blog activities -
Document other examples of the artists work and some information about their life and work
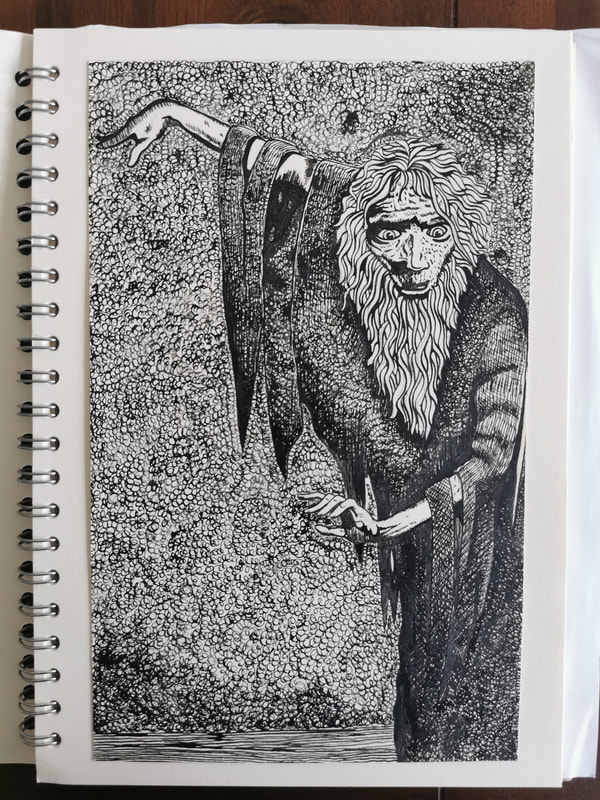
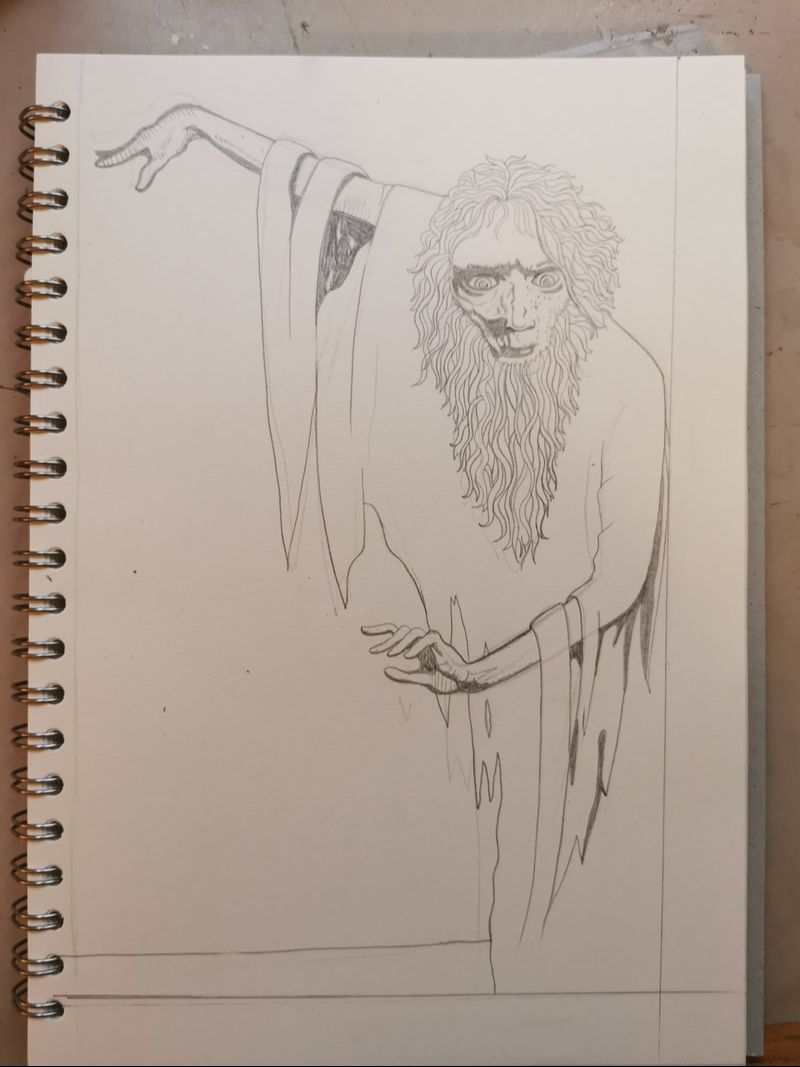
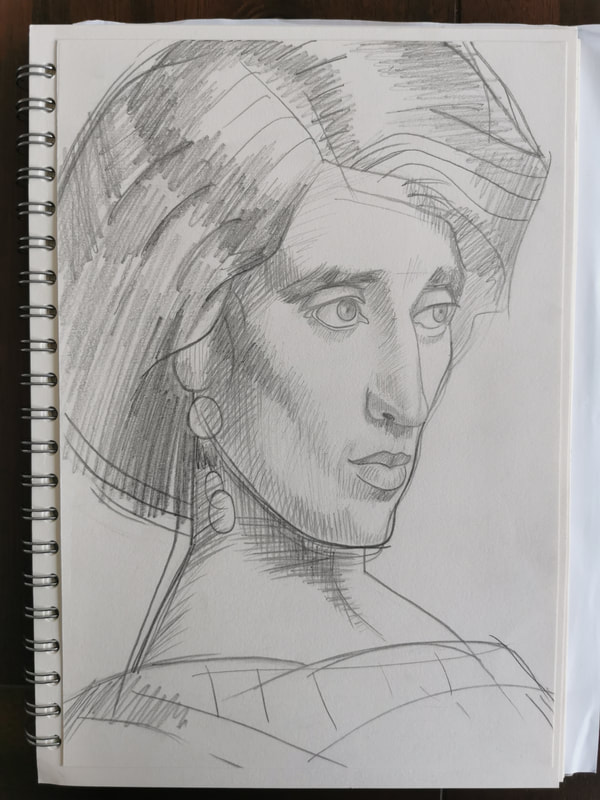
Document the work i produce from the practice attempts
Document other examples of the artists work and some information about their life and work
Document the work i produce from the practice attempts
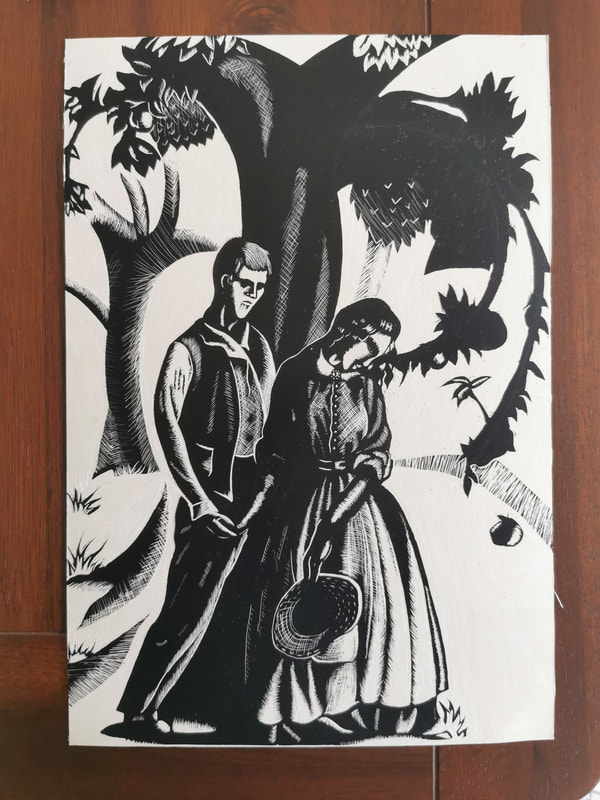
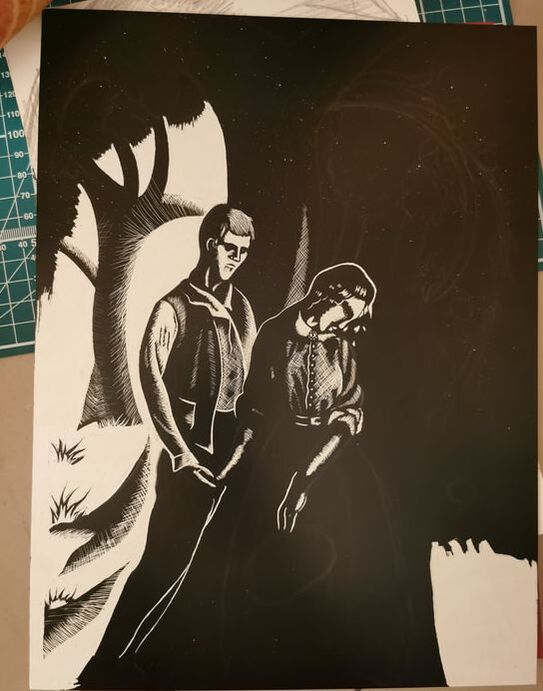
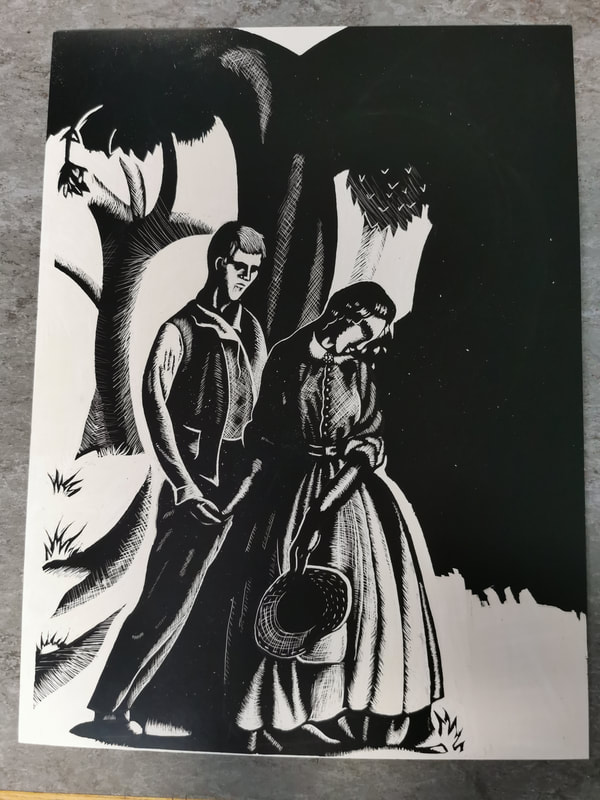
Claire Leighton
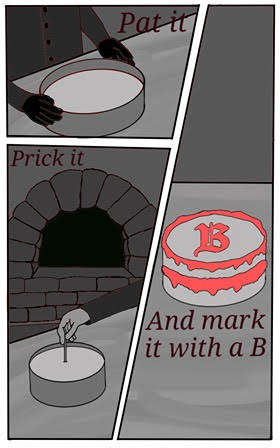
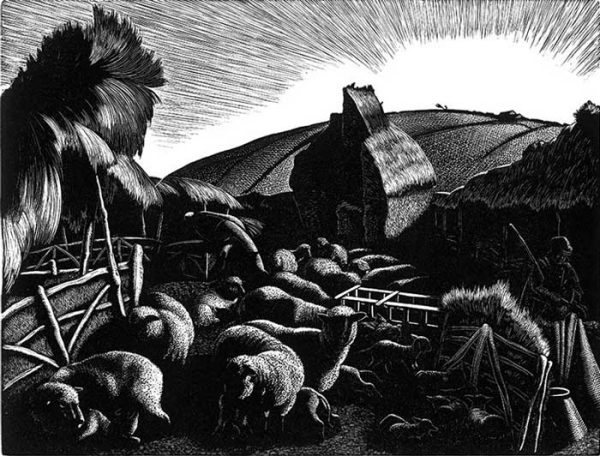
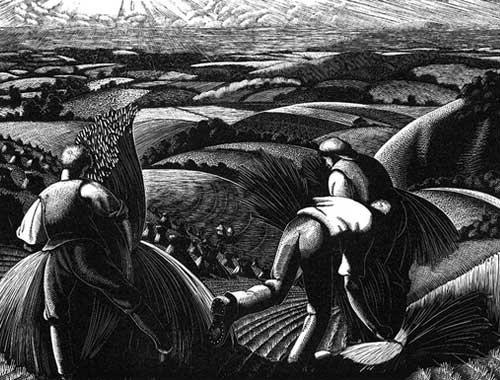
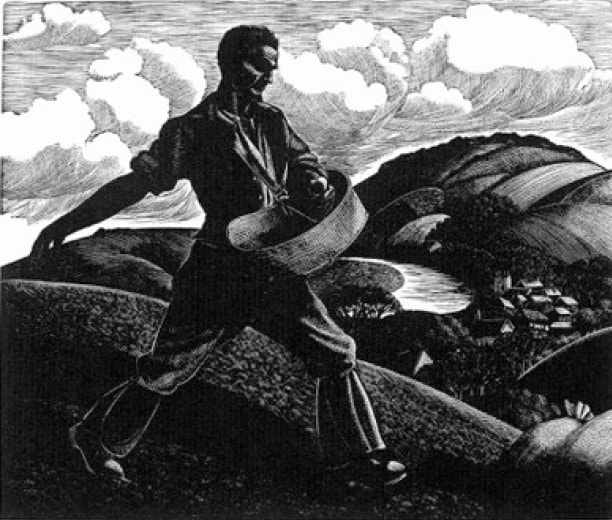
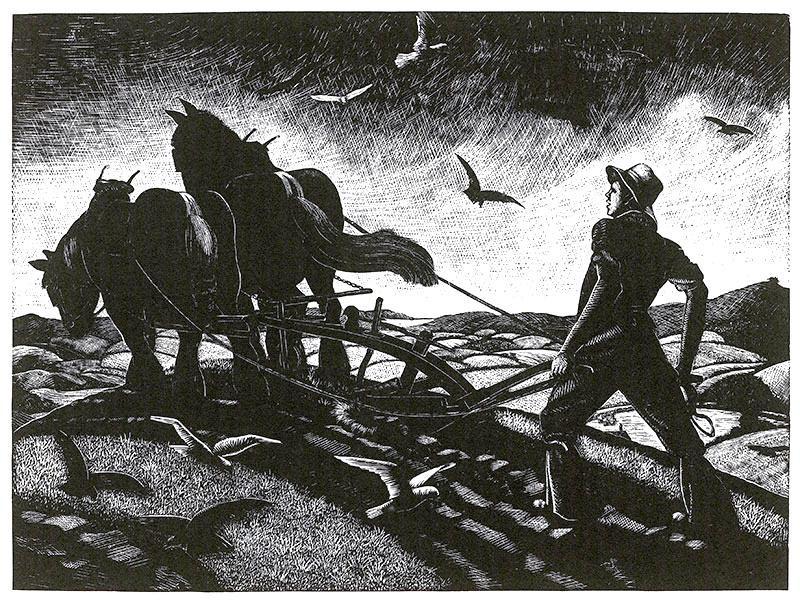
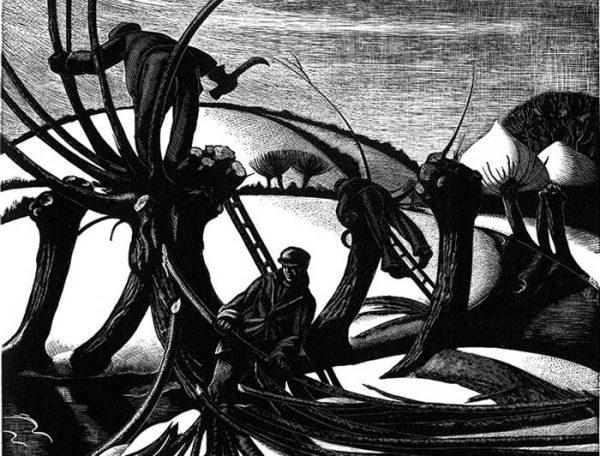
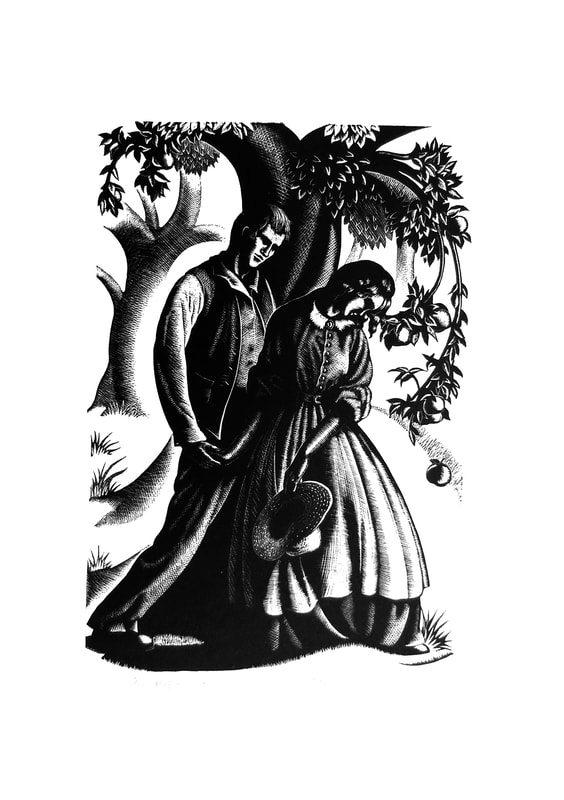
Clare Marie Veronica Leighton was an English/American artist, writer, and illustrator who is best known for her wood engravings.
In her early years, her first efforts at painting were encouraged by her father and uncle Jack Leighton, an artist and illustrator, whom she took many sketching trips with to mainland Europe. She studied at Brighton College of Art and later trained at the Slade School of Fine Art, and then the Central School of Arts and Crafts, where she studied wood engraving under Noel Rooke.
After completing her studies, Leighton traveled throughout Europe, where she often sketched landscapes and peasant workers, developing an affinity for portraying rural life as she traveled through Italy, France, and the Balkans.
Leighton wrote and illustrated numerous books praising the virtues of the countryside and the people who worked the land. She was the first woman to produce a book on wood engraving, called Wood-Engraving and Woodcuts, in 1932, which played an important role in popularizing the medium.
|
|
|
|
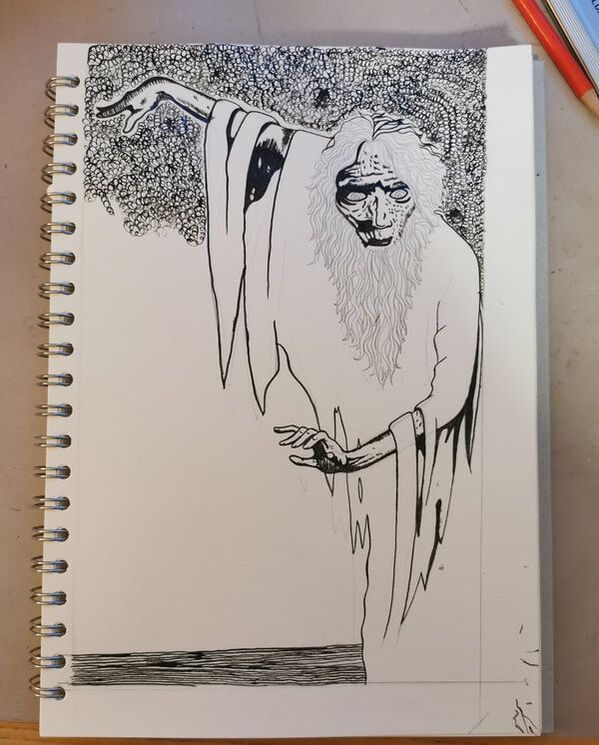
Mervyn Peak
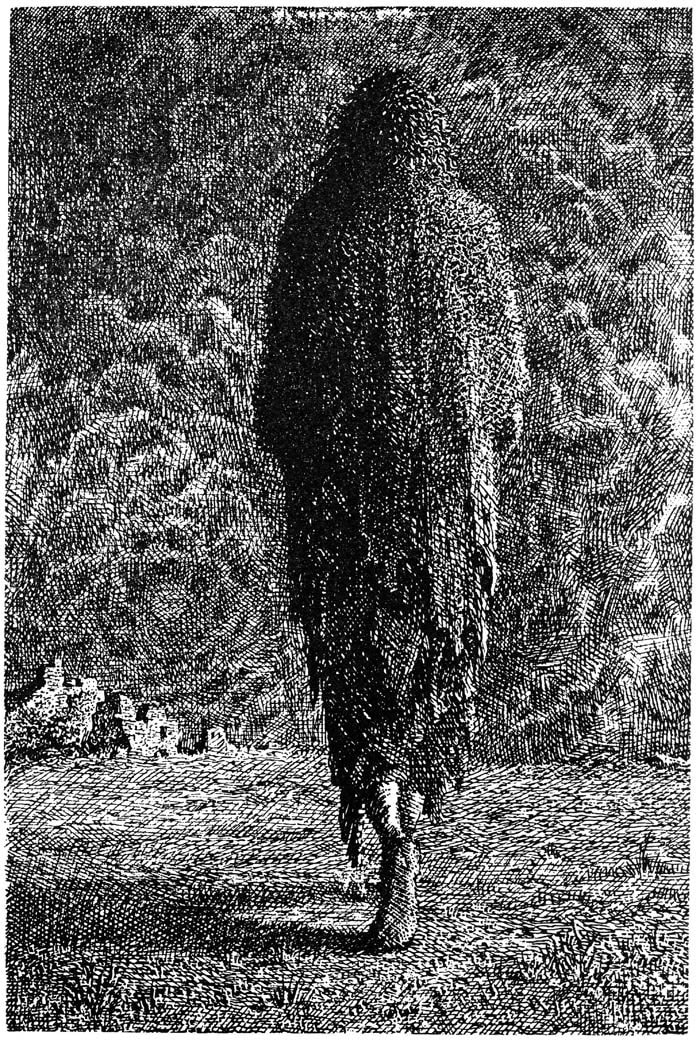
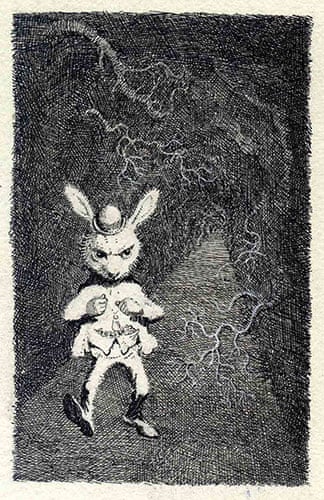
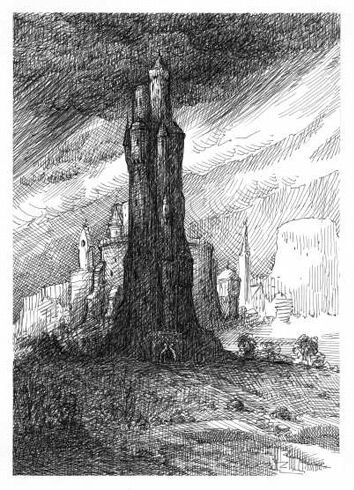
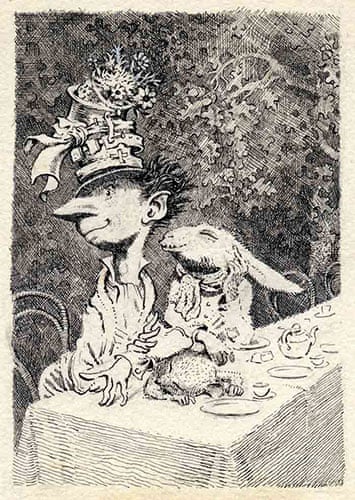
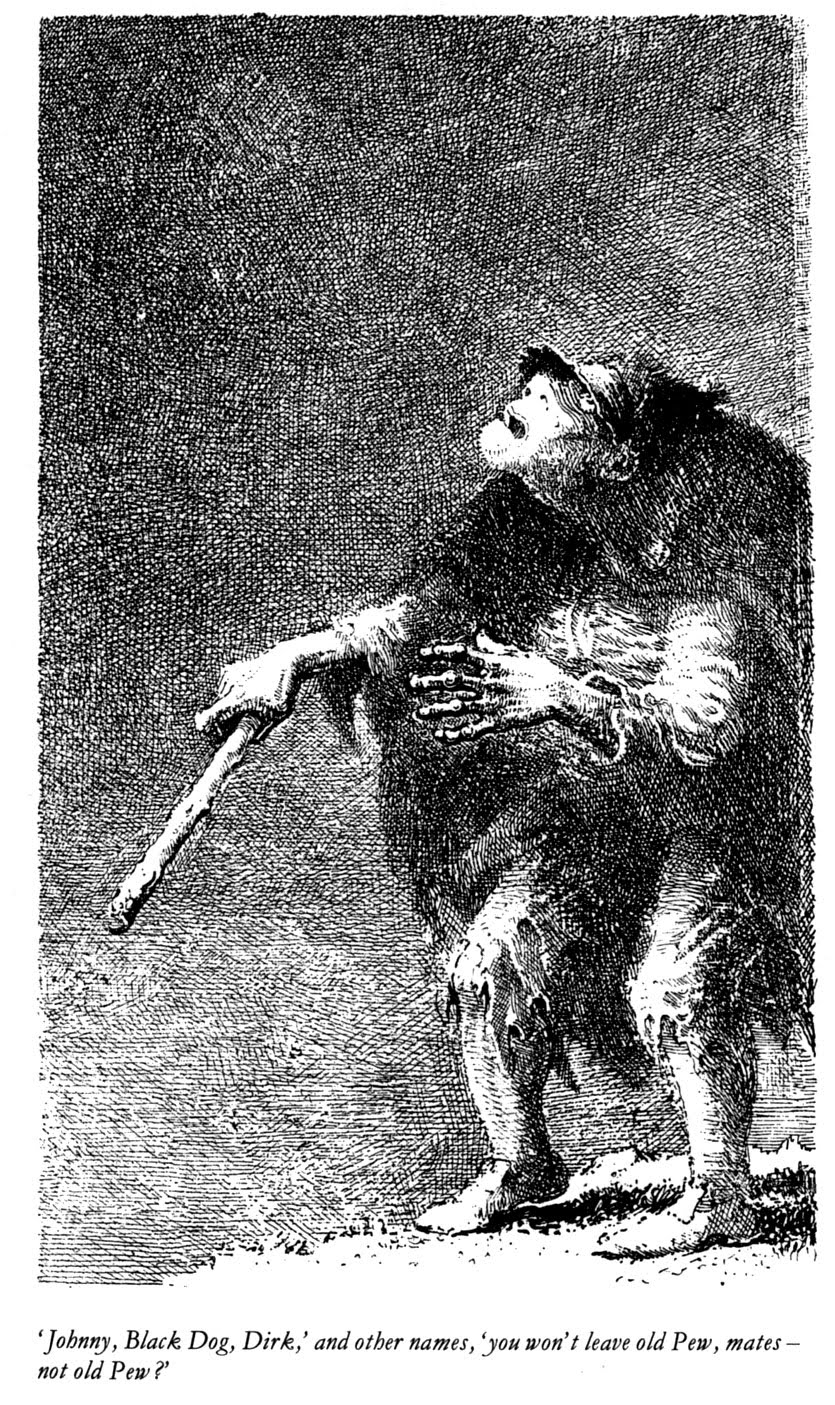
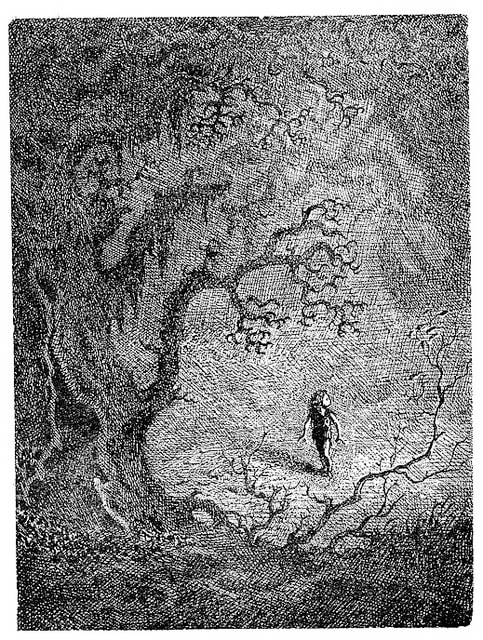
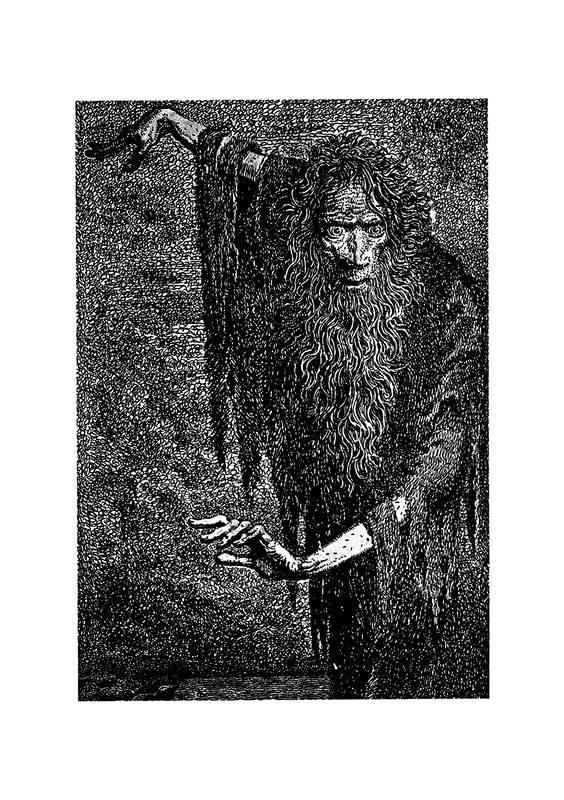
Mervyn Laurence Peake was a China born English writer, artist, poet, and illustrator, who was born on the 9th of July 1911, and died on 17th November 1968.
He is best known for his Gormenghast books, the completion of which was prevented by his death, which are sometimes compared to the works of JRR Tolkien. He first made his reputation as a painter and illustrator during the 1930’s and 40’s when he lived in London.He was commissioned to design the sets and costumes for The Insect Play and his work was acclaimed in The Sunday Times. He also taught life drawing at Westminster School of Art.
At the outbreak of WW2 he applied to be a war artist, where he imagined An Exhibition by the Artist, Adolf Hitler, in which horrific images of war with ironic titles were offtered as “artworks” by the Nazi Leader. Although his drawings were bought by the British Ministry of Information, Peake’s application was turned down and he was conscripted into the Army, where he served with the Royal Artillery, and the Royal Engineers.
For a short time at the end of WW2 he was commissioned by various newspapers to depict war scenes and though his work didn’t receive much recognition while he was alive, his works are now included in the National Portrait Gallery, the Imperial War Museum, and The National Archives.
|
|
|
|
Henry Lamb
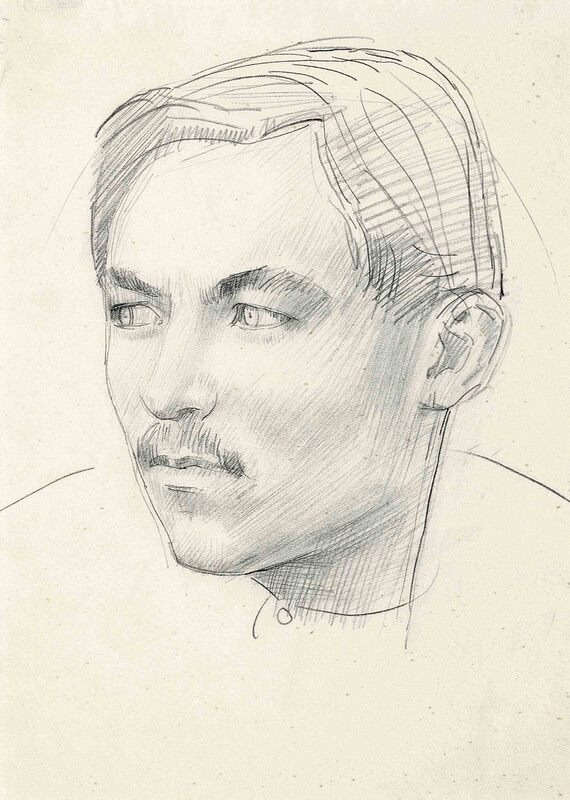
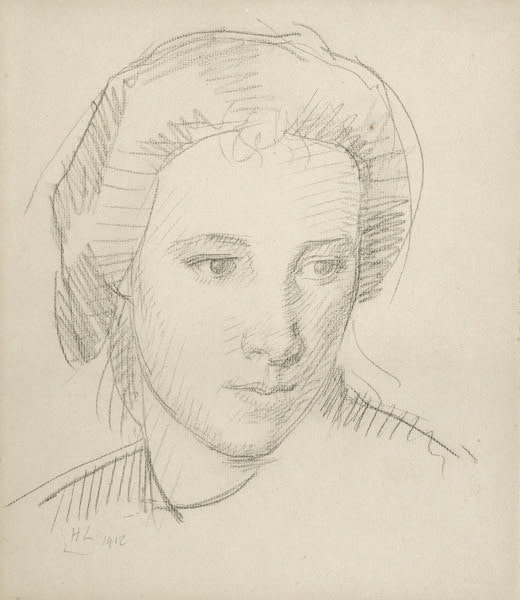
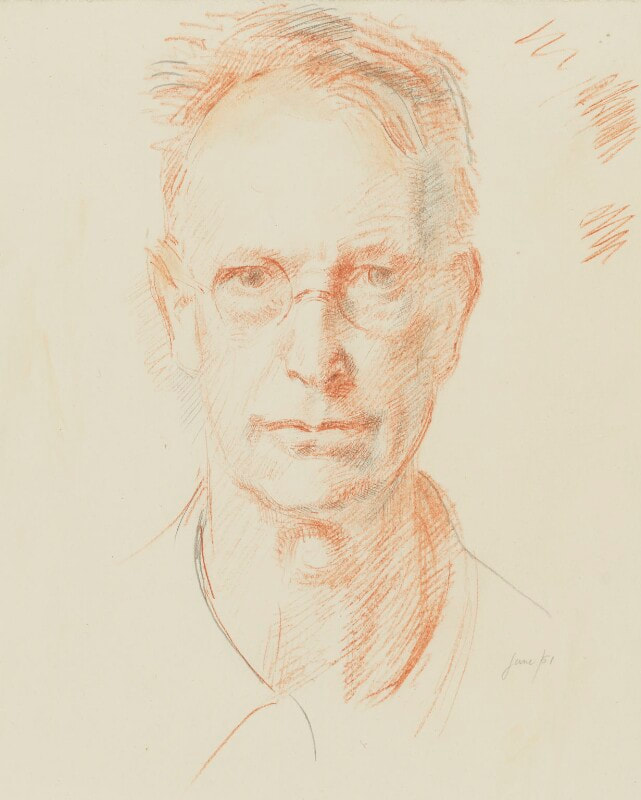
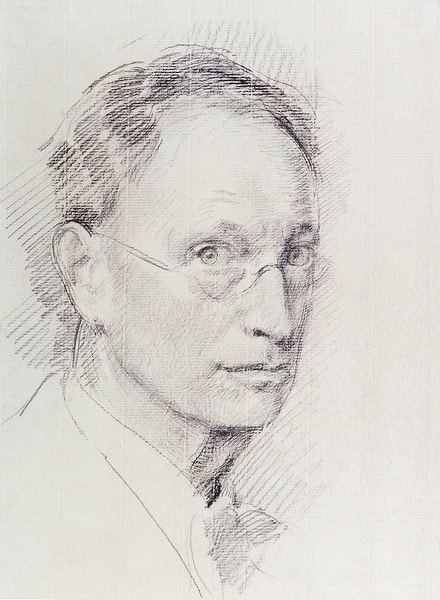
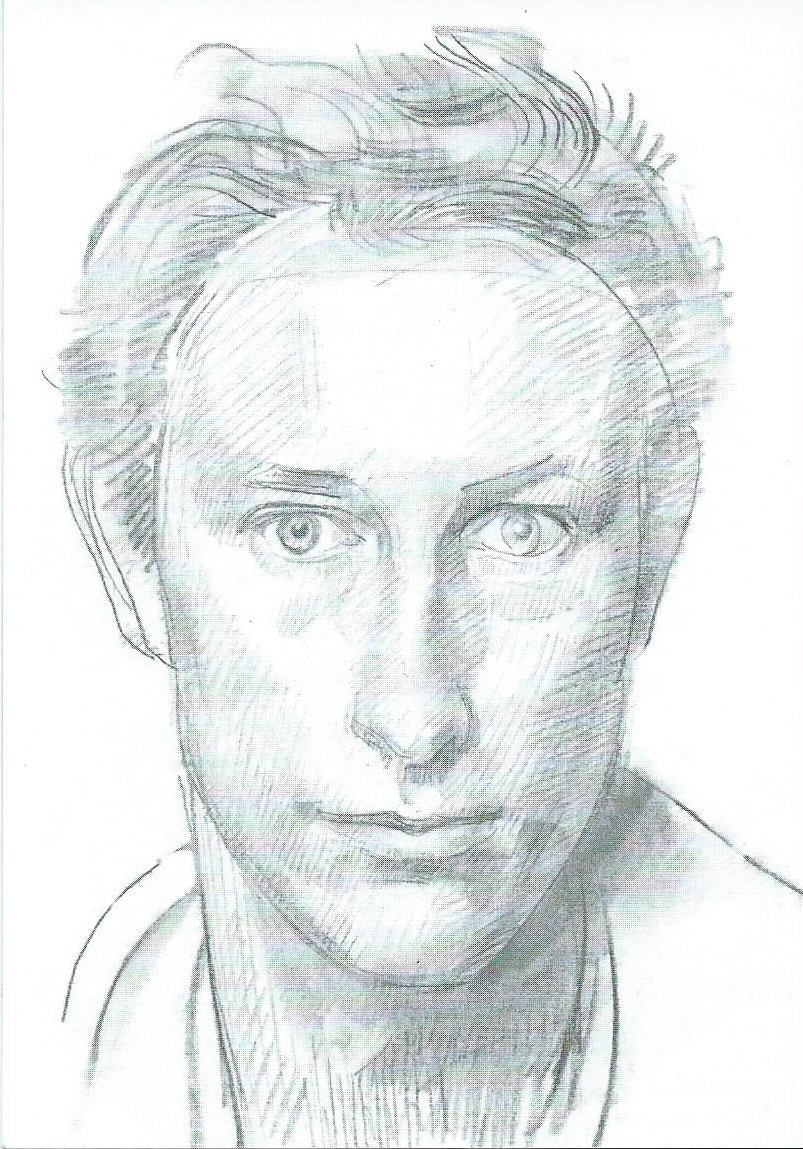
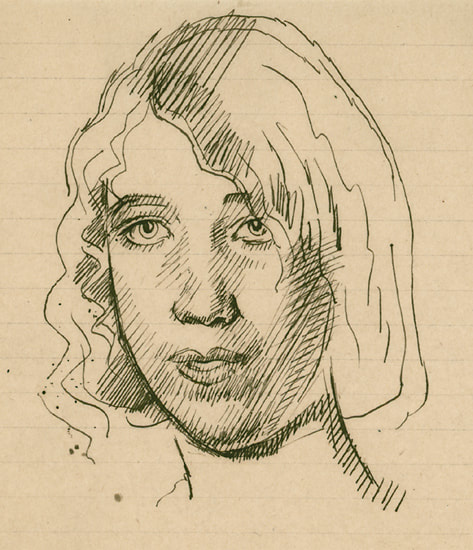
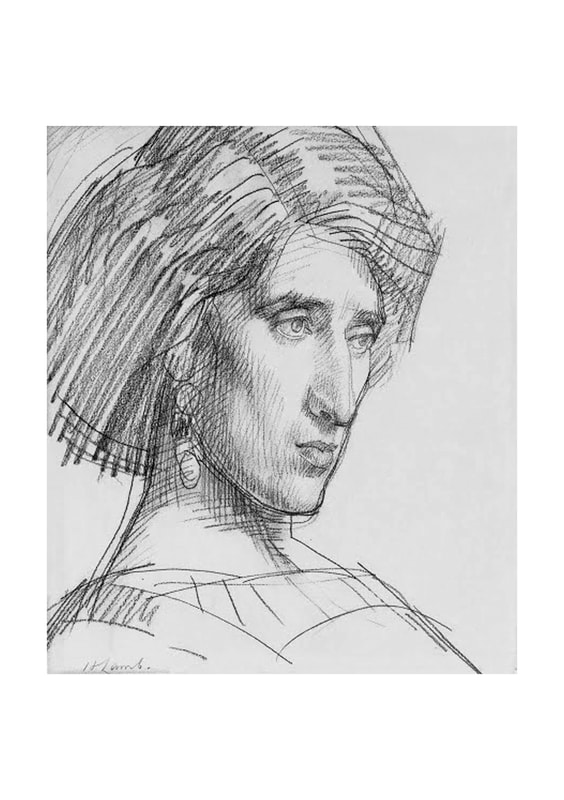
Henry Taylor Lamb was an Australian born British painter, who was born in Adelaide on 21st June 1883, and died on 8th October 1960. Lamb studied medicine at Manchester University Medical School and Guy’s Hospital in London, but he then studied painting at the Chelsea School of Art in 1906, as well as at the Academie de La Palette in Paris.
At the start of WW1, Lamb returned to medicine and qualified as a doctor, serving in the Royal Army Medical Corps as a battalion medical officer. After the war he settled in Poole, Dorset, and in 1940 was appointed as a fulltime war artist in the War Office by the War Artists Advisory Committee. Throughout the war he produced a large number of portraits and paintings, including high ranking commanders and service men and women, as well as painting operations at Old Sarum aerodrome and tank training exercises. He was made a member of the Royal Academy, and a trustee of the National Portrait Gallery and the Tate Gallery.
|
|