Week 1
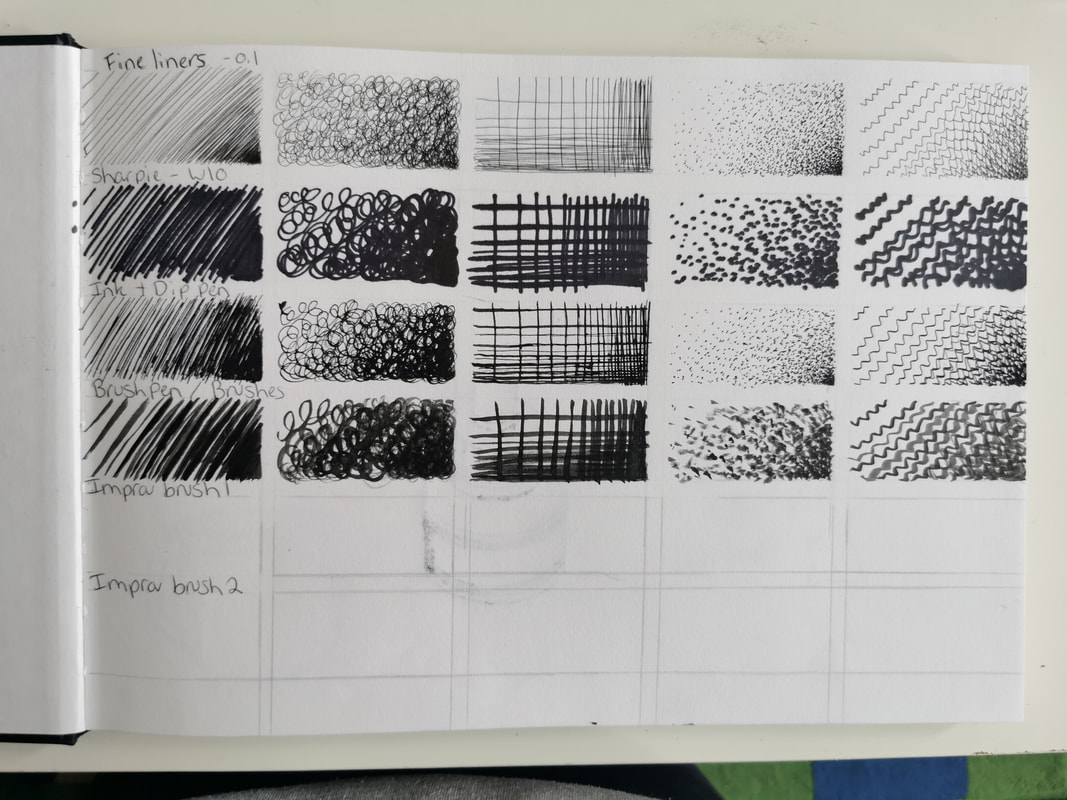
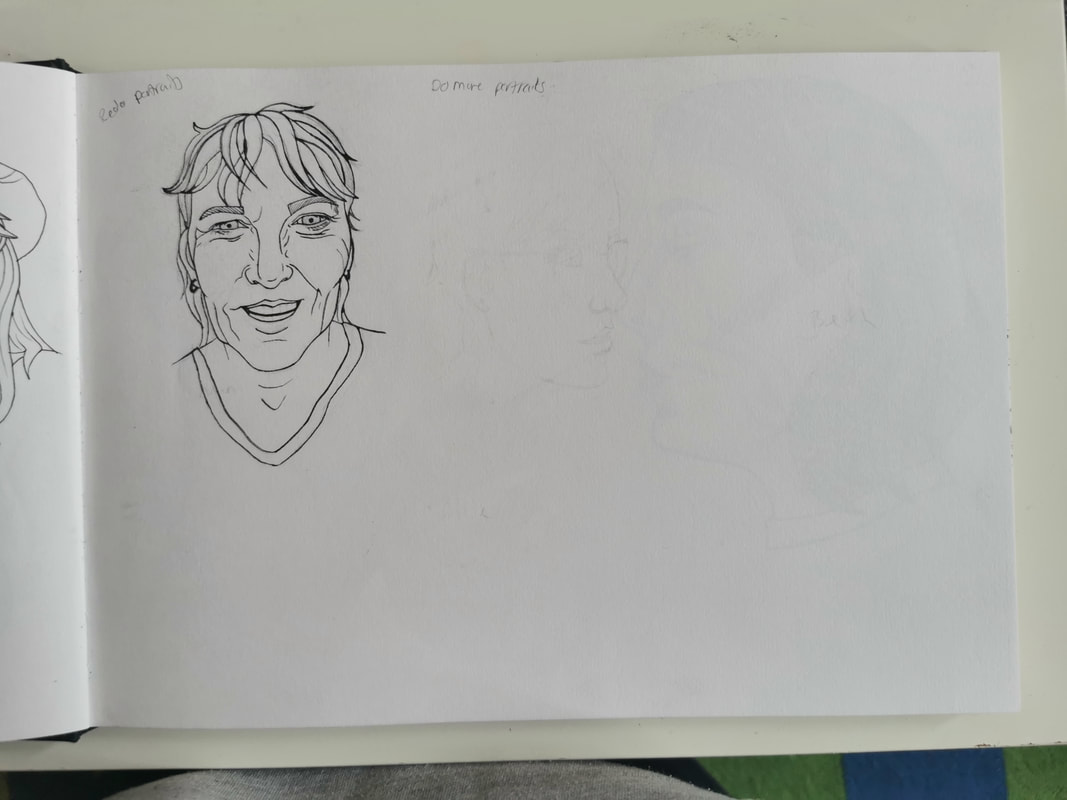
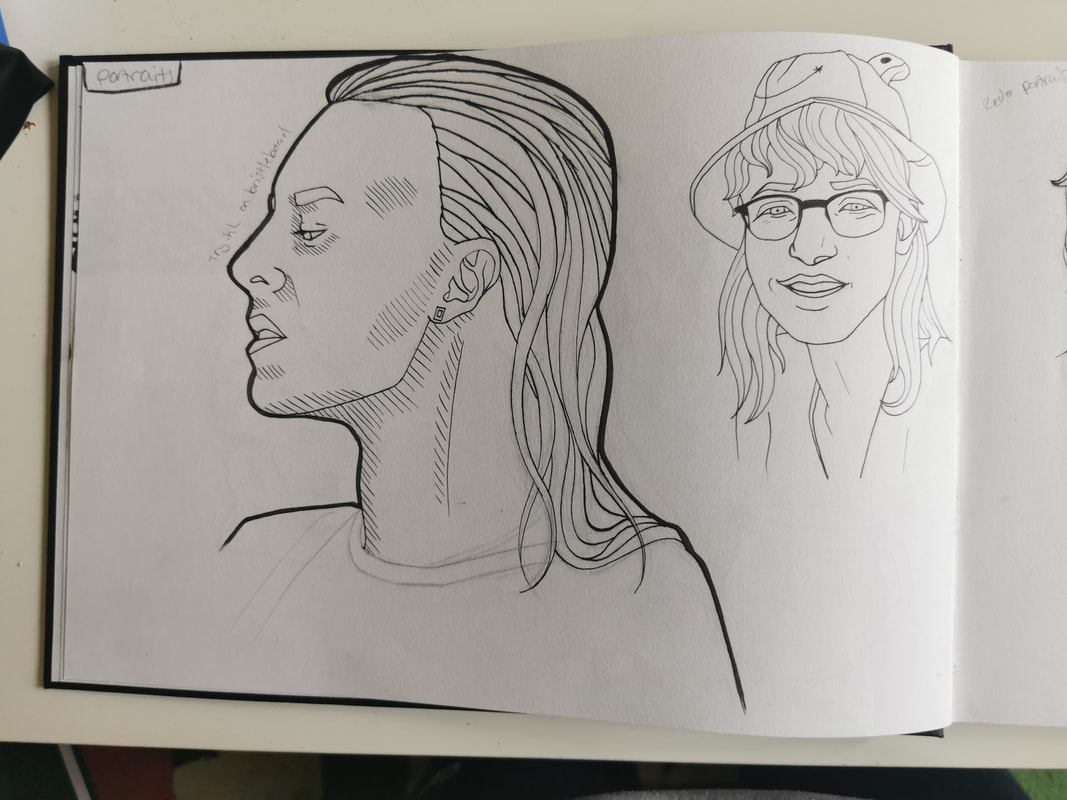
Class brief - Spend the next few days exploring and experimenting with four 'classic' ways of getting that ink onto a flat surface: dip pen, fine-liner, brush and 'improvised' brush. Look at techniques such as crosshatching, stippling, local tone and the use of pattern and solid black. Experiment with the techniques we'll discuss by making drawings of two things: 1) a simple still life involving books, cups, plates and a bottle and 2) yourself (self-portraits).
Mark making -


Sketchbook work - Observational drawings + portraits


Videos watched -
|
|
|

Brief -
In keeping with the theme of simple but effective, your task this week, is to create a drawing of a room in your house - bedroom, living room, kitchen, bathroom, it's your choice, using only ink on paper. We don't just want a brief outline of the space but rather we want to get a sense of the room, it's character, its surfaces, textures, lighting and ambiance.

Reflection -
Through this project I have realised and began to incorporate a number of different techniques and textures into my work, (eg stippling) to help create a more lively and energetic feel to my pieces. However, I soon realised that the use of the stippling technique takes up a lot of time and patience, so to become proficient in this skill I need to learn to take my time and not rush, as this can badly affect the technique.
I have also began to incorporate the use of dip pen and fine liner more into my work, as these changes of media can help create different tones and feeling of the pieces I am trying to create.
I faced issues when using the dip pens, as the paper in my sketchbook tended to buckle and rip under the pen's nib. However, I now know that to achieve a smooth and refined piece in dip pen, I have to use bristle board instead of ordinary paper.
Week 2
Class brief - We want you to 'go to town' with a wide range of unlikely materials and create a menagerie of 3D cats and dogs! They can be big and small, quick or involved but in all cases you are trying to capture something identifiable about the essence of the animal. You can also roam into the world of fantasy and create cats or dogs the like of which have never been seen before! The only criteria is that when looking at your creations it is quite clear we are looking at either a cat or a dog.
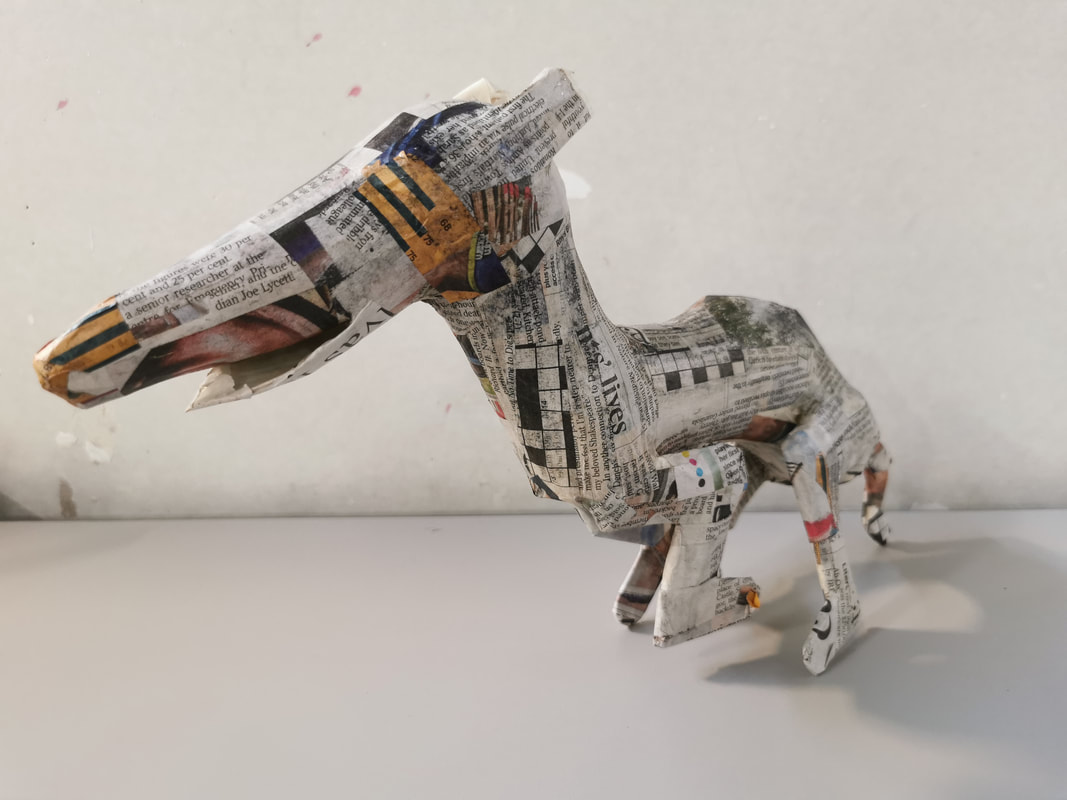
Dog -
I created this Borzoi dog using cardboard toilet paper rolls, lollypop sticks, and masking tape. I decided to make this dog look like he was running, because it portrays the restless and boisterous energy that dogs are well known for. I cartoonish extended his nose in an attempt to portray the breed of dog I was tying to model him after. Afterwards, I papier-mâché him with newspaper to smooth out the roughness of the masking tape, but decided not to paint him because he holds a certain sleek nature that the lines of text in the newspaper seem to accentuate.
I created this Borzoi dog using cardboard toilet paper rolls, lollypop sticks, and masking tape. I decided to make this dog look like he was running, because it portrays the restless and boisterous energy that dogs are well known for. I cartoonish extended his nose in an attempt to portray the breed of dog I was tying to model him after. Afterwards, I papier-mâché him with newspaper to smooth out the roughness of the masking tape, but decided not to paint him because he holds a certain sleek nature that the lines of text in the newspaper seem to accentuate.


Cat -
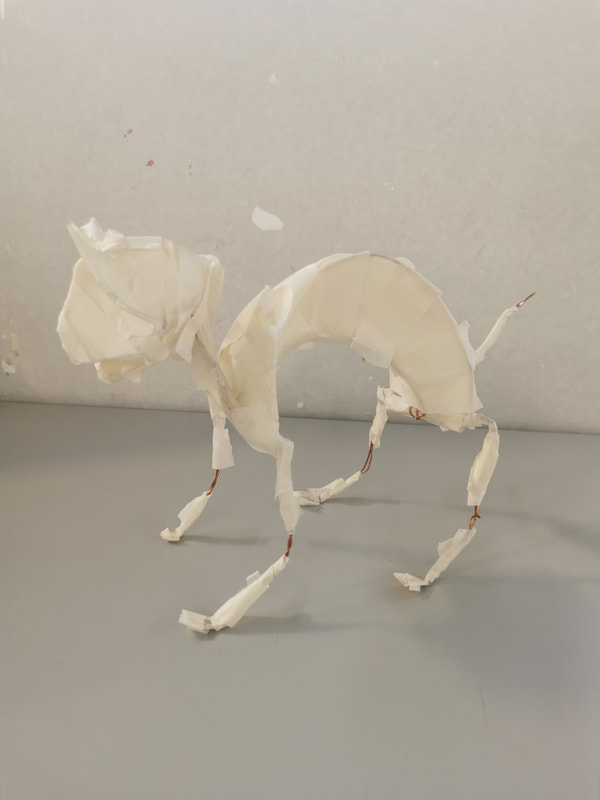
I constructed this cat out of jewellery wire and masking tape, for additional support. In this model, i wanted to portray the standoffish, scared nature that cats sometimes embody, especially when threatened. I created a large arc in the cats back and extended the tail straight outwards to imply its form and shape of a cat ready to flee. I left him covered in masking tape, as it helped exaggerate the bony nature the wire granted the form, and it gives off a feral, scrappy energy that most street cats often have.


Class brief Part 2 - Still thinking about capturing the essence of something through experimental approaches to image making (playing with stuff) we want you to create self portrait masks. Your depiction will be presented in photo format. The outcome isn't the mask you make but the image/s that you record and present of it - extra house points being awarded for the most interesting/daring/considered. This is not about drawing yourself on something and strapping it to your head. It's not even about making it look like you (although it can). Think about capturing some essence of you; this can be either an aspect of your personality of your appearance (or both).
A mask of you, presented as photograph(s) - consider the photograph(s) as the illustration. Background, lighting, concept, narrative, editing and 'wardrobe' (your choice of clothing) is going to be as much a part of the outcome as the mask.
- WIP -
For this mask, I have decided to construct it through the method of crochet. Over lockdown, I taught myself how to knit and crochet as a way to pass the time and help improve my mental health, and afterwards I kept up with the hobby.
I intend to crochet a medical face mask, and then attach a pair of crocheted headphones over the head. I use my headphones as a way of focusing on work and tasks that need to be done, and it also allows me to get out of my head when need be. I listen to a wide arrange of music, mostly film soundtracks, as they allow me to concentrate and become more creative as the music inspires me.
Blog task - Take your creations and photograph them (well) then upload to your Blog creating a gallery of cats and dogs - give them names/titles. Think about the background you photograph them against and how you light them.
Week 3
Brief -
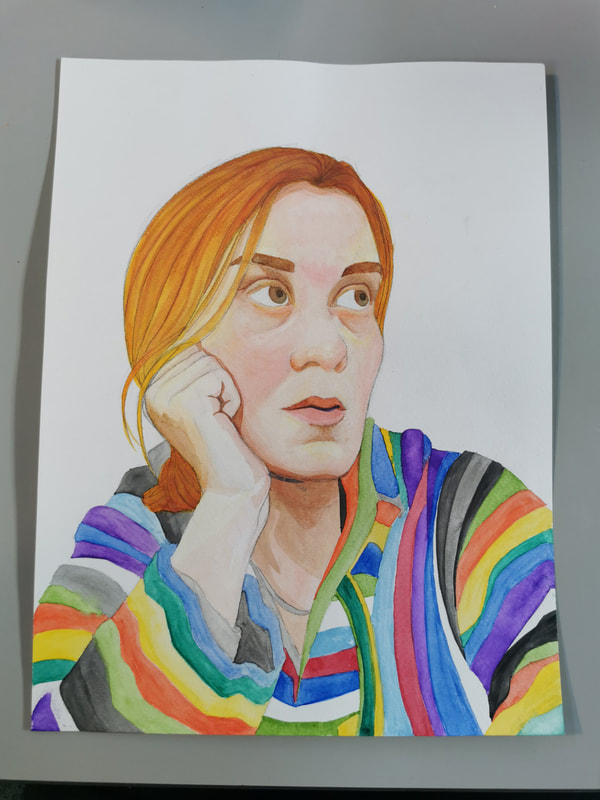
We are returning to the subject matter of Activity 1.1 - small still lives and self-portraits however, this time we shall be creating them using two types of paint: watercolour and acrylic. You must choose four artists from the introductory lecture: two who use watercolour and two who use oils or acrylic paint and then create a body of work (still lives and self-portraits) in their style. There is no single, end product here, simply a set of work executed on appropriate surfaces. These could range from sketchbook pages through to work on single sheets of paper, card, fabric etc.
Think about scale, brush type, surface and manner of application (e.g. sitting, standing, at arms length or close to)? If the original was done with a big brush, you should use one too!
Watercolours


Acrylics


Blog Task -
You will be experimenting with a wide range of approaches to making images but as the week draws to a close, we would like you to document and reflect (in words) on what you have taken from two of the artists or approaches shown and discussed at the briefing. A useful approach would be to compile a simple animation of two paintings as they progress. You should do this by taking photographs at regular intervals then compiling them as a simple, stop-frame animation. This should help you consider that age old question of, 'when do I stop? '
Explain the issues you faced and the pros and cons of the approach/technique (i.e. what is it good for/what are its limitations)?